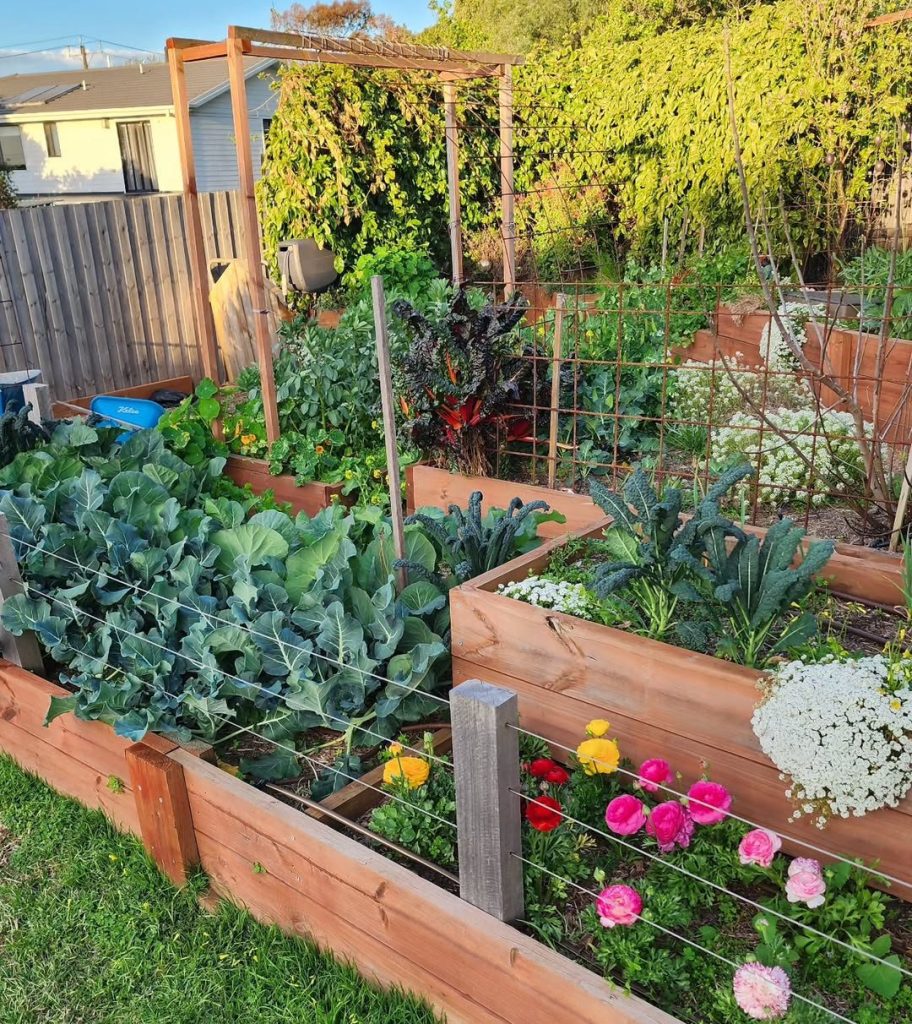

To start your gut healing vegetable garden for homemade soups, grow carrots, zucchini, leafy greens, and herbs you enjoy eating, then add crops that suit your space and digestive tolerance.
You’ll have ingredients for comforting meals while keeping control over portions and seasoning.
Treat “gut healing” as a search phrase, not a medical promise. You support your gut health through your broader eating pattern; a bowl of healing vegetable soup does not cure a digestive condition. Your comfort food should fit your appetite and sensitivities, including days when a smaller serving of well-cooked vegetables feels best.
What Should You Grow for Nourishing Soups?
Build your crop list around vegetables you already tolerate and use regularly in soup. Give everyday ingredients most of your growing space, with a smaller spot for unfamiliar crops.
Start with Carrots, Zucchini, and Leafy Greens
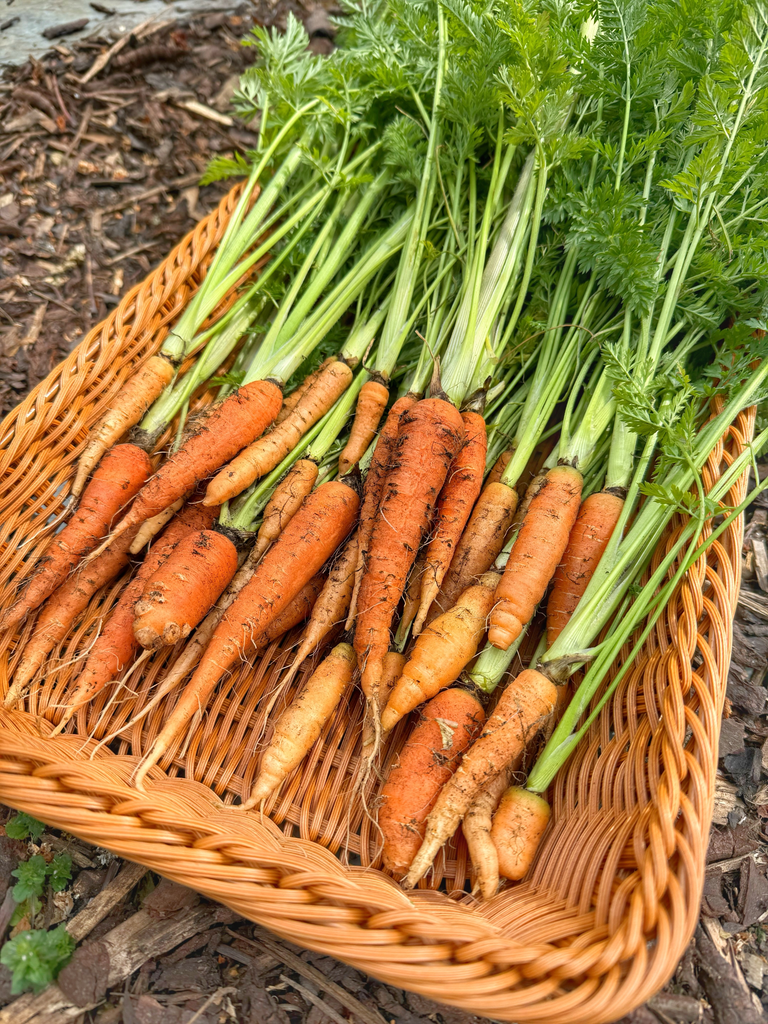
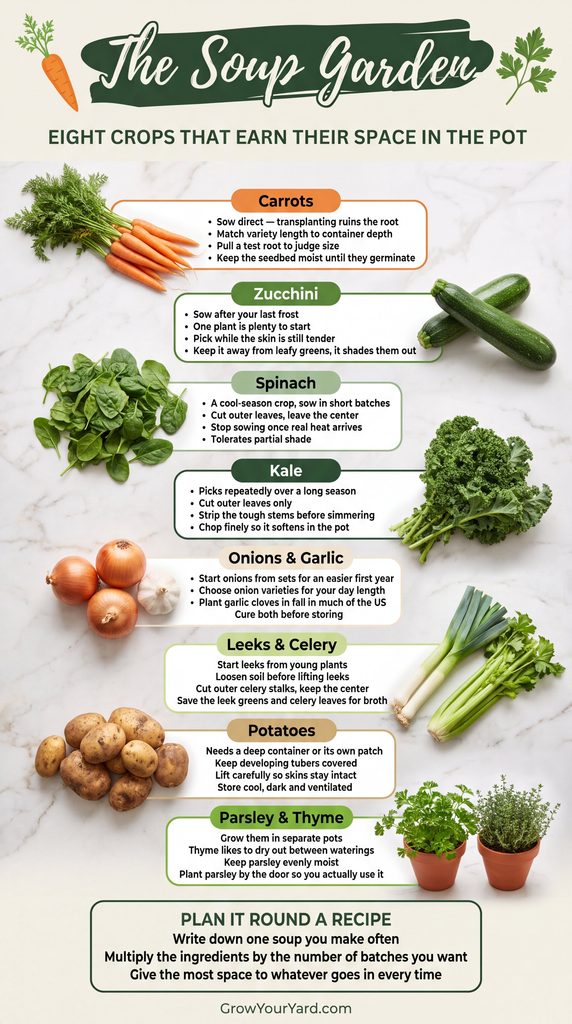
Start with carrots for sweetness and zucchini for tender pieces that cook quickly. Sow carrots directly into loose soil, since transplanting disturbs their developing roots. Choose a carrot variety whose mature length fits the depth of your container or bed.
Give zucchini room to spread, even when you choose a compact variety. In a small garden, begin with a single plant and leave leafy greens in a separate container so the squash leaves won’t shade them.
Choose spinach for cool-weather harvests or kale for repeated picking over a longer season. Cut outer leaves while leaving the growing center intact. In your kitchen, remove tough kale stems and chop the leaves finely before simmering.
Add Aromatics, Roots, and Soup Herbs
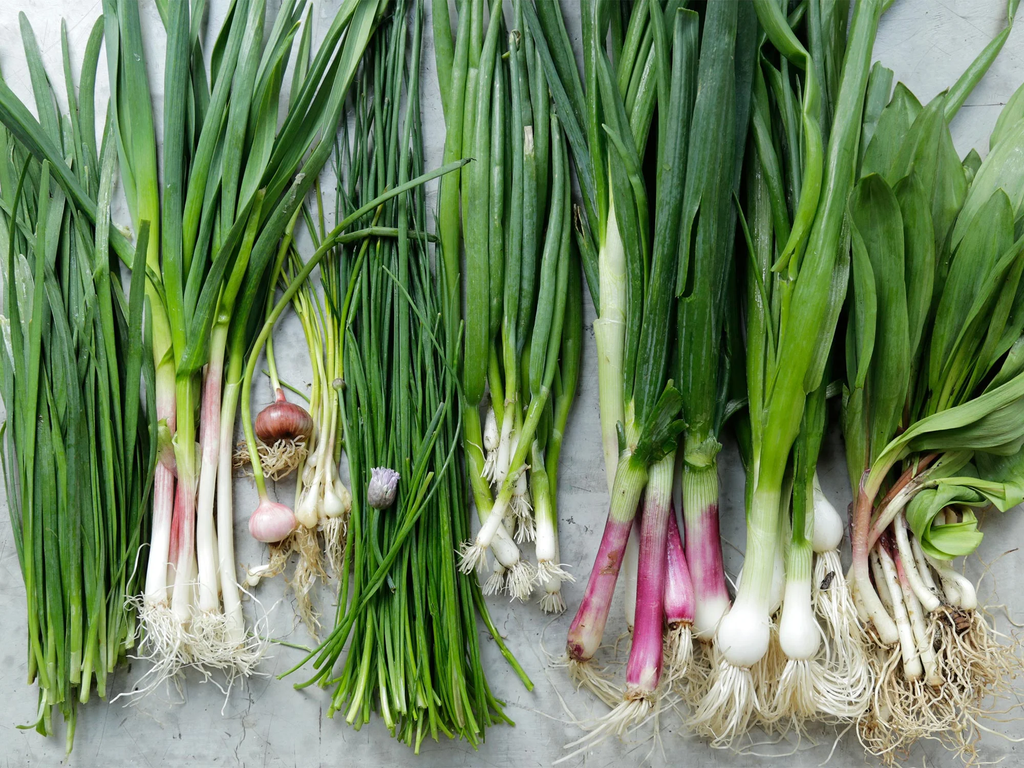
Use onions, garlic, leeks, and celery to build a savory soup base when you tolerate them. Start onions and leeks from young plants if you want to simplify your first season. Choose onion varieties suited to your region’s day length.
Reserve potatoes for a deeper container or a dedicated patch where you can keep developing tubers covered. For garlic, plant individual cloves at the season recommended for your area; fall planting suits many parts of the United States.
Keep thyme in a sunny, well-drained spot, and place fresh parsley where you’ll remember to snip it. Separate pots make their different watering needs easier to manage: let thyme’s soil dry somewhat between waterings, while keeping parsley evenly moist.
Choose Crops Around Your Digestive Tolerance
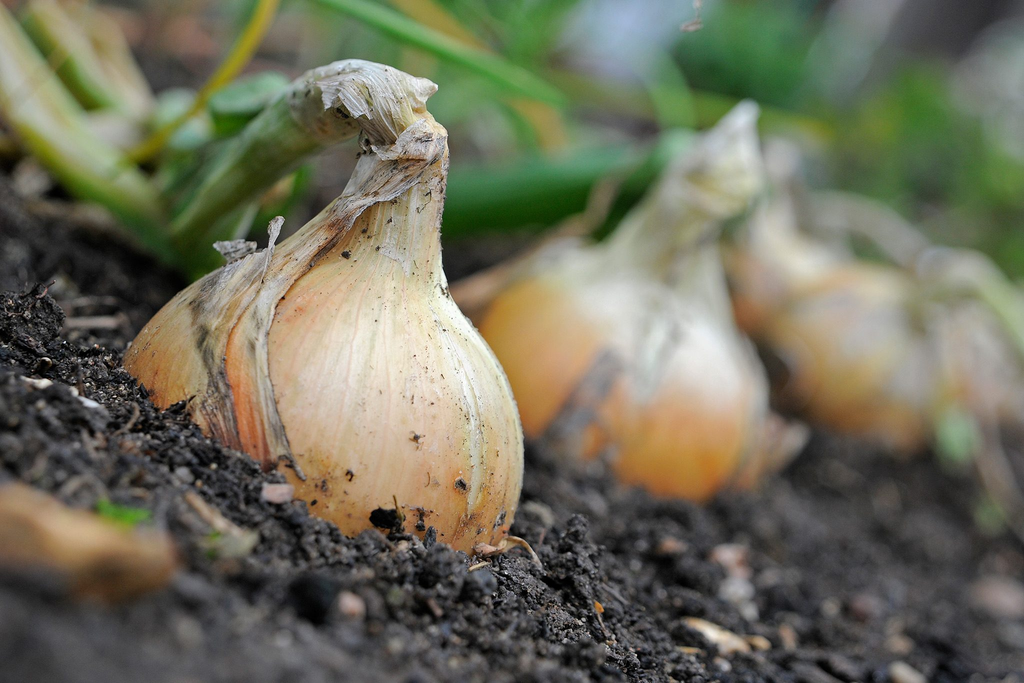
Let your own eating experience guide your planting decisions. Onions and garlic contain fermentable carbohydrates that trigger bloating in some people, particularly when you have irritable bowel syndrome. Large servings of vegetables or a sudden increase in fiber also deserve attention.
Try small portions of thoroughly cooked vegetables, and change one ingredient at a time if you’re tracking symptoms. Cooking softens vegetables, but it does not reliably remove the carbohydrates responsible for symptoms.
If onions bother you, devote their garden space to a tolerated crop and season your soup with parsley or thyme. For persistent discomfort or a restrictive diet, work with a registered dietitian or clinician to protect your digestive health and nutritional intake.
How Do You Plan a Soup Garden?
Plan your garden around its sunlight, your local planting calendar, and the soups you cook most. You’ll make better use of a modest bed when every crop has a place in your kitchen.
Choose Containers or Beds with Enough Sun and Drainage
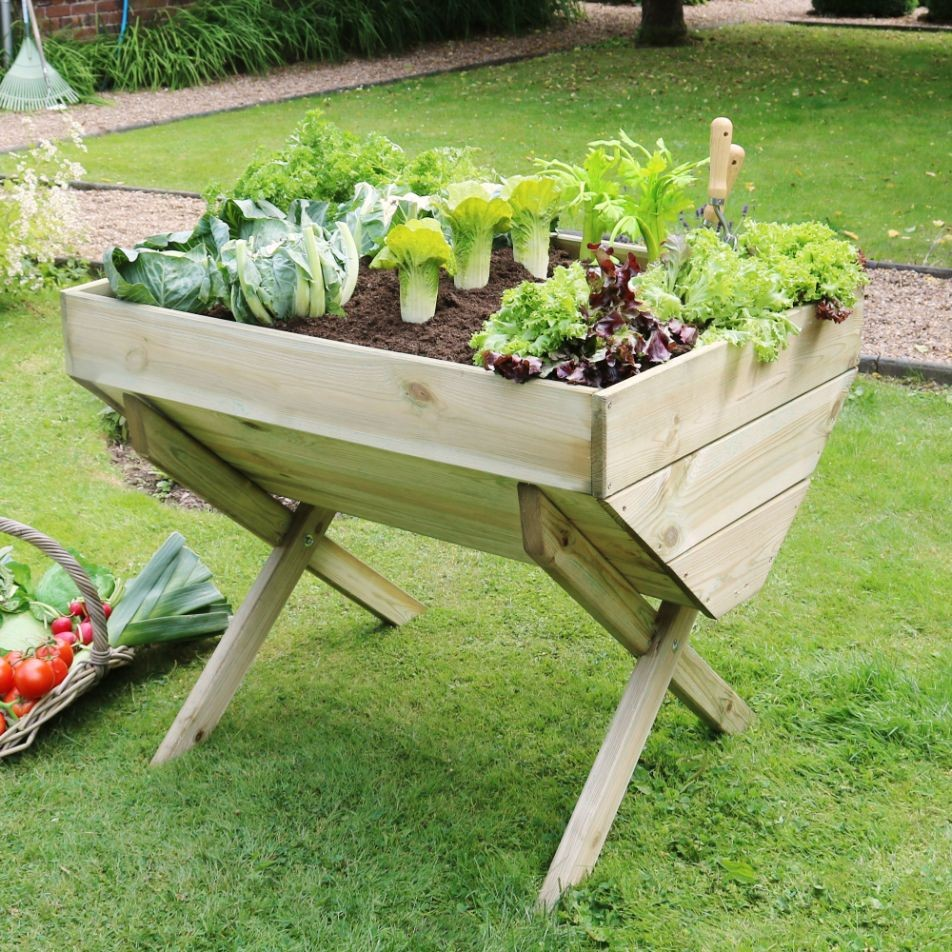
Choose your sunniest practical location, especially for tomatoes and peppers. Leafy greens tolerate some partial shade, which gives you options along a bed’s less sunny edge. Check the spot during the day before buying plants.
Use containers with drainage holes and a potting mix labeled for vegetables. Match container depth to the crop’s roots and mature size, following the seed packet or plant label. A shallow herb planter won’t give a full-size carrot enough room.
For in-ground beds, choose a location where water drains after rain. Keep paths accessible so you can harvest without stepping on growing soil, and position tall tomato supports where they won’t shade your smaller plants.
Group Cool-Season and Warm-Season Crops
Schedule carrots, spinach, and kale for the cooler parts of your growing year. Plant green beans, zucchini, tomatoes, and peppers after your local frost risk has passed and the soil has warmed.
Grow a red bell pepper if you enjoy sweet pepper in soup, remembering that it needs time on the plant to develop its ripe color. Treat chili pepper as optional, especially if spicy meals bring on digestive symptoms.
Use local extension planting dates alongside your seed packets. In a cold-winter climate, your fall garden might rely on hardy greens under protection; in a mild-winter region, you may have a longer outdoor growing window.
Match Planting Quantities to Your Favorite Soup Recipes
Write down the ingredients for a soup you make regularly, then multiply those amounts by the number of batches you want to cook. Count carrots and onions individually, but plan leafy greens by the amount you use after chopping.
Use this kitchen list to set priorities:
- Give carrots a dedicated row or deep container if they go into nearly every batch.
- Start with a single zucchini plant if your space and freezer are limited.
- Plant short stretches of green beans at intervals for repeat harvests.
- Grow parsley near your door for frequent small cuttings.
Leave room for crop losses and uneven harvests without expecting your garden to supply everything. Keep pantry staples on your shopping list so a small harvest still becomes dinner.
How Do You Keep Ingredients Growing Through the Seasons?
Keep your soup ingredients coming by maintaining the soil and sowing smaller batches at suitable times. Warm-season extras such as ginger need their own plan for temperature and growing space.
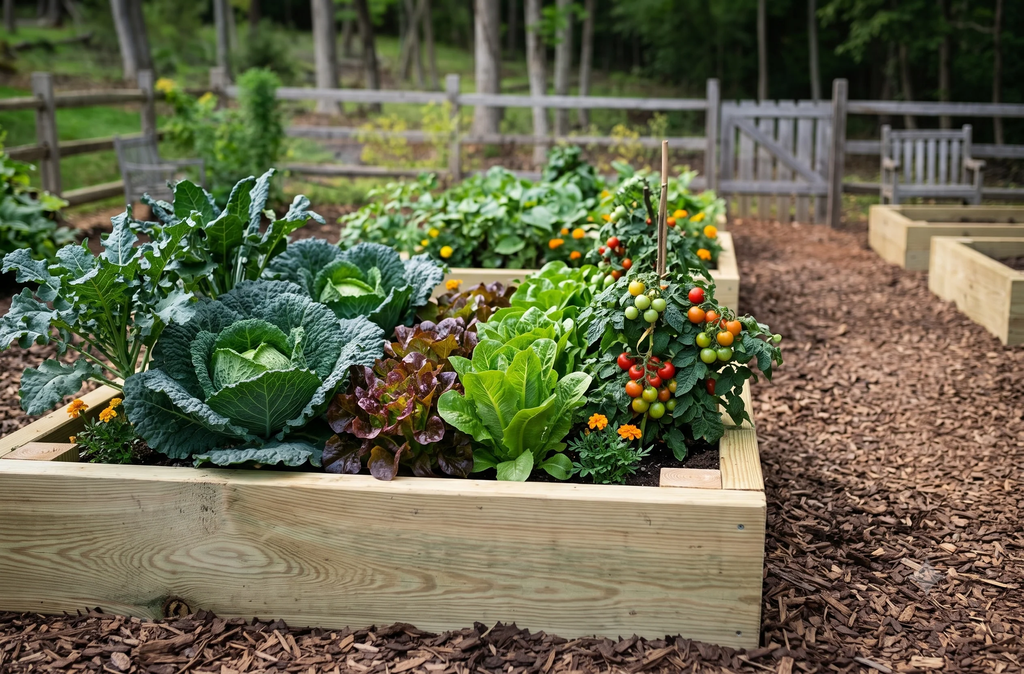
Build Healthy Soil and Water Consistently
Check your soil before adding fertilizer, particularly in an established bed. Use a soil test to guide amendments, and mix finished compost into beds as needed. In containers, follow your potting mix’s feeding instructions because nutrients wash out with watering.
Water at soil level and check moisture below the surface with your finger. Keep carrot seedbeds moist during germination; after plants establish, water deeply enough to reach their roots. Mulch around established plants while leaving stems clear.
Plan future beds by plant family. You reduce repeated exposure to some crop-specific pests and diseases when you avoid planting the same vegetable family in the same area year after year. Remember that tomatoes, peppers, and potatoes belong to the same family.
Stagger Sowing for Regular Harvests
Sow short rows of carrots and spinach in successive batches during their suitable growing season. Check the packet’s days to maturity against your expected heat or frost dates before each sowing. Stop planting spinach when approaching heat makes a useful harvest unlikely.
For green beans, choose bush varieties if you want compact plants with concentrated harvests. Sow another small patch while your earlier planting develops, provided enough warm weather remains.
Keep a basic record of sowing dates and harvest amounts. Next season, use your notes to adjust the spacing between plantings and reduce gluts that exceed your freezer space.
Grow Ginger and Turmeric Where Conditions Allow
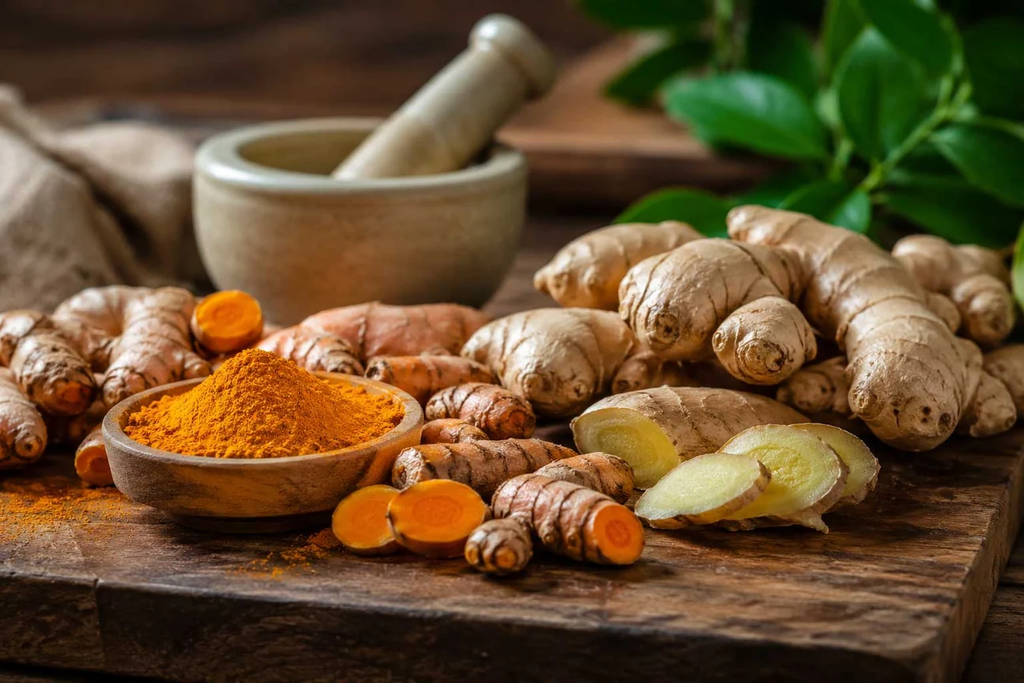
Grow ginger and turmeric in containers if you have a long, warm growing period or a bright indoor space for extending the season. Start with healthy planting rhizomes, the underground stems from which new shoots grow.
Use loose potting mix and keep it moist without leaving the container standing in water. Protect both crops from cold, and move pots indoors before frost if your climate requires it.
Harvest fresh ginger when the rhizomes have developed enough for your needs. For a short growing season, expect a smaller harvest and use young ginger in modest amounts for flavor. You can also buy ginger and turmeric while reserving garden space for more productive local crops.
When Should You Harvest and Preserve Your Crops?
Harvest vegetables at eating quality, then preserve the surplus while it is still fresh. Keep storage methods separate for tender greens, cured crops, and prepared soup ingredients.
Pick Vegetables and Herbs at Their Best
Check crops frequently once they approach the maturity window on the packet. Pull a test carrot to judge root development, and pick zucchini while its skin is tender and its seeds are small.
Snip fresh parsley from the outside of the plant, leaving its center growing. Cut thyme sprigs above leafy growth so you leave material for regrowth. Harvest only as much as you need unless you’re preparing a batch for preservation.
Lift potatoes carefully to avoid puncturing their skins. For leeks, loosen the soil before pulling; for celery, cut usable outer stalks while keeping the plant’s center intact when your variety and season allow continued growth.
Freeze Soup Portions and Store Roots Safely
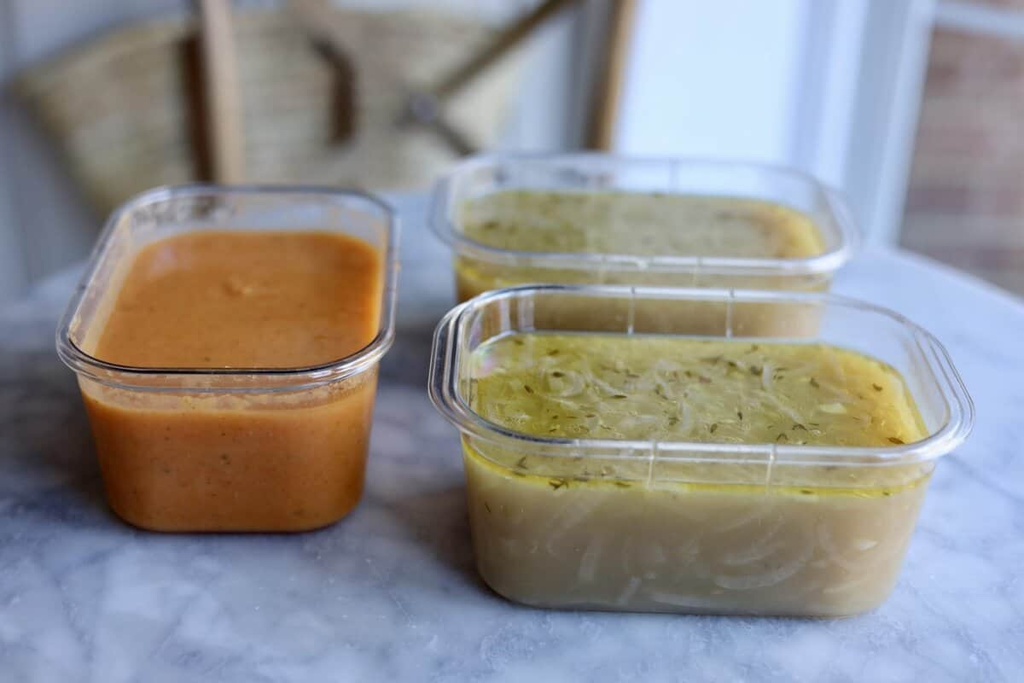
Wash your harvest under running water before preparing it for cooking or freezing. Blanch vegetables such as carrots and green beans using crop-specific instructions, then cool promptly and drain before packing. Label bags with the ingredient and packing date.
Freeze ingredients separately when their cooking times differ. Keep leafy greens apart from diced roots so you can add them near the end of cooking. Use freezer-safe containers and leave room for expansion when freezing liquids.
Store cured potatoes in a cool, dark, ventilated place, and discard green or badly damaged tubers. Keep trimmed carrots refrigerated in a bag or covered container that limits drying. Store cured onions and garlic in a dry, ventilated location, separate from damp produce.
Turn Clean Vegetable Trimmings into Broth
Save sound carrot ends, parsley stems, leek greens, and celery leaves for vegetable broth. Rinse away soil, especially between leek layers, before adding trimmings to a labeled freezer bag.
Use clean, edible scraps and discard anything moldy or spoiled. Keep strongly flavored cabbage-family scraps limited if you dislike their effect on broth, and leave potato peels out of your scrap bag.
Cover the frozen trimmings with water, bring to a boil, then reduce to a gentle simmer until the flavor suits you. Strain the broth and cool it promptly using the same shallow-container method you use for finished soup.
How Do You Turn Your Harvest into Homemade Soup?
Turn your harvest into soup by cooking firm vegetables first, adding tender greens near the end, and seasoning to your tolerance. Use the base recipe below for a brothy bowl, then adjust its protein or texture as needed.
Build a Simple Vegetable Soup from Garden Staples
Use this healing vegetable soup as an adaptable meal, with “healing” describing your search for nourishing comfort food. Your vegetables should cook until tender enough for the texture you enjoy.
Yield: 4 servings
Prep time: 15 minutes
Cook time: 30 minutes
Total time: 45 minutes
Heat: Medium for sautéing, then low for a gentle simmer
Garden-grown ingredients, or purchased equivalents:
- 2 medium carrots, scrubbed and diced (about 1 cup)
- 1 medium zucchini, diced (about 1½ cups)
- 1 medium potato, peeled if preferred and diced (about 1 cup)
- 1 celery stalk, finely sliced
- ½ medium onion, diced, optional
- 2 garlic cloves, minced, optional
- 2 cups loosely packed spinach, roughly chopped
- 1 teaspoon fresh thyme leaves, or ½ teaspoon dried thyme
- 2 tablespoons chopped fresh parsley
Pantry and other additions:
- 1 tablespoon olive oil
- 4 cups low-sodium vegetable broth, plus extra as needed
- 1 dried bay leaf
- ¼ teaspoon salt, plus more to taste
- ⅛ teaspoon ground black pepper, optional
- 1 teaspoon lemon juice, optional
- Heat the olive oil in a large saucepan over medium heat. Add the onion and celery. Cook for 5 minutes, stirring, until softened. If omitting onion, cook the celery alone.
- Add the garlic, if using, and stir for 30 seconds.
- Add the carrots, potato, vegetable broth, thyme, bay leaf, salt, and optional pepper. Bring to a boil, then reduce the heat to low. Partially cover and simmer gently for 15 minutes.
- Add the zucchini and simmer for 7 minutes, or until the potato and carrots are tender when pierced with a fork.
- Stir in the spinach and cook for 2 minutes. Remove the bay leaf.
- Add the parsley and optional lemon juice. Taste before adding more salt. Thin with extra broth if you prefer.
If you omit onion and garlic, use your herbs for flavor and check that your broth also suits your sensitivities. Substitute finely chopped kale for spinach by adding it with the zucchini.
Add Pantry Protein, Grains, or Creaminess
Make your soup more filling with cooked pantry additions. Stir in 1 cup of cooked lentils or drained, rinsed chickpeas during the last few minutes, allowing them to heat through. Begin with a smaller portion if legumes cause gas.
Add ½ to 1 cup of cooked quinoa or brown rice for a heartier texture. Cook these separately so you control their tenderness and the amount of broth they absorb.
For creaminess, blend part of the cooked vegetables or stir in ¼ cup coconut milk. If you prefer bone broth, substitute it for vegetable broth, recognizing that your soup will no longer be vegetarian. You do not need collagen powder for this recipe, and claims that it repairs your gut go beyond established evidence.
Adjust Texture and Seasoning for Digestive Comfort
Cook your vegetables until soft if you find firm pieces uncomfortable to eat. Mash them against the pot or use an immersion blender for a smoother texture. Blending changes texture while leaving the soup’s fiber in place.
Keep chili out of the base recipe when heat triggers your symptoms. Add lemon or lemon juice gradually if acidic foods bother you, and choose broth without onion or garlic when those ingredients cause bloating.
Serve yourself a modest bowl first and assess your comfort before increasing the portion. If you track symptoms, record the ingredients and serving size so you have useful details to discuss with your clinician.
Refrigerate, Freeze, and Reheat Soup Safely
Divide your finished soup into shallow containers so it cools quickly. Refrigerate within 2 hours of cooking, or within 1 hour when the surrounding temperature exceeds 90°F. Keep your refrigerator at 40°F or below.
Use refrigerated soup within 3 to 4 days, or freeze portions promptly for later meals. Label each container with the date and ingredients, particularly when you prepare different versions for digestive sensitivities.
Thaw frozen portions in the refrigerator or reheat directly from frozen. Heat leftovers to 165°F throughout, stirring to eliminate cold spots; bring soups to a rolling boil during reheating. Warm only the amount you plan to eat.
Start Small and Grow Your Next Bowl
Start with a manageable patch of vegetables you tolerate and a pot of herbs you’ll use often. Build your planting schedule around your climate, then preserve extra harvests in portions that match your soup pot.
You’ll have more useful comfort food when your garden reflects your appetite and your cooking habits. Support your gut health with variety at a comfortable pace, and keep notes on both crop performance and food tolerance.
For your first planting, choose a deep container of carrots, a seasonal leafy green, and parsley. Use the base soup recipe to decide what earns more space next season.